by Jnmarseille13 (March 19, 2022)
by Jnmarseille13 (March 19, 2022)

When you work on a song, you’ll probably feel like the more you “stack” instruments and layer, the more you will feel like your track is unbalanced. Your track might sound very loud on a few parts, and very low on other parts
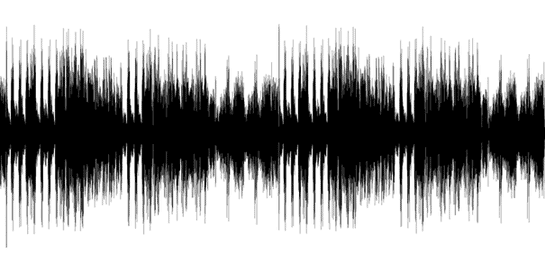
If you export your track and try to look at the waveform, you will notice some peaks throughout the diagram. Compression is a tool that will help you balance that waveform and make everything sound balanced. We’re going to see how this works, so that you can have an overview on what audio compressors do.
Compression is the process of evening out your sound by lowering loud sounds and raising low sounds. This can be applied on a whole track, on a group of instruments, on vocals, or even on one element at the time. It’s a very essential tool in your mixing process.
The main functions of an audio compressor are threshold, ratio, attack, release, gain. Let’s see what all of those are used for.
The threshold is the level where the compressor will start treating a signal. If you set it very low, most of the signal will be compressed, and the sound will be very low. On the other hand, if you set it high, only the gain of the signal will be compressed, and your sound will be louder.
The ratio is the parameter that decides how intense the compression will be, in comparison to the part of the signal that’s not being compressed (the part on top of the threshold). The first number corresponds to the part below the threshold, whereas the second number corresponds to the part above.
The higher it is, the more intense compression will be on the signal. So, for example: a 3:1 ratio will give a lower volume than a 2:1 ratio. A 1:1 ratio means no compression is done on the signal.
The attack and release will determine when compression starts on the signal. The attack is for the beginning of the compression’s action and the release is for the end.
The lower you set the attack, the faster compression will kick in, and the higher you set it, the slower it will kick in. The lower you set the release, the faster compression will let go, but the higher you set it, the slower it will let go.
After playing with the 4 previous parameters, you will realize that the volume of the signal is very low. The gain knob will make you be able to raise the volume, while keeping your sound even and balanced… compressed!
So, in this article, I told you about the basic knowledge for compressors. However, most compressors you’ll see will come with more functionalities, such as sidechain; but you will always have at least those 5: threshold, ratio, attack, release, and gain.
The best way to understand how all this works is to have your hands on them and experiment yourself. You will most likely also have to combine compressions with other mixing skills such as reverb and EQ. So, again: make sure to get your hands on those and experiment!
Have fun with that! 😊